
Hello And Welcome!!!
I do have to apologize first off for taking so long to write this How To. I have had Strep Throat and I finally went to the doc yesterday. They gave me a Penicillin shot to the bum and gave me some meds. I do feel alot better now and I am so excited to be back. Lets get started!!!!
First off I like to get all my supplies together

- Scrapper/Old Credit or gift card
- Angled brushes
- XL Stamper
- Stamping Template
- Bowl of acetone
- Old towel or paper towel
- Stamping polish
I prefer using an old Credit card because it scrapes much more evenly then the purchased scrapers I have. I also have an XL Stamper which makes applying a full design to your nail bed so much easier and its double ended. I purchased 3 sets of XL stampers for only $5.99 on Ebay HERE.I also use the angled nail art brushes to clean up the polish around my nails. They can be purchased HERE on Amazon for only $2.10 and that is for a whole set. Its a real good deal. I also use an old Ketchup cup to pour acetone in for easier access for cleanups. As for the Stamping Template, I used one that I purchased from Vivid Lacquer HERE. I also recommend purchasing Cheeky plates, they work amazing with all sized nail beds also. You can purchase them on Amazon HERE or purchase them through Cheeky's website HERE. Now lets begin.....

First you need to apply your base color.
I decided to go with China Glaze/Purple Panic
Let that dry. I also like to apply my favorite top coat called
G&G HK Girl it's a Super Shiny, Fast Drying Top Coat. You can purchase it HERE. It dries super fast and has a very shiny finish.

Now you want to get your plate and apply your stamping polish over the image you want. I used Konad Black stamping polish.
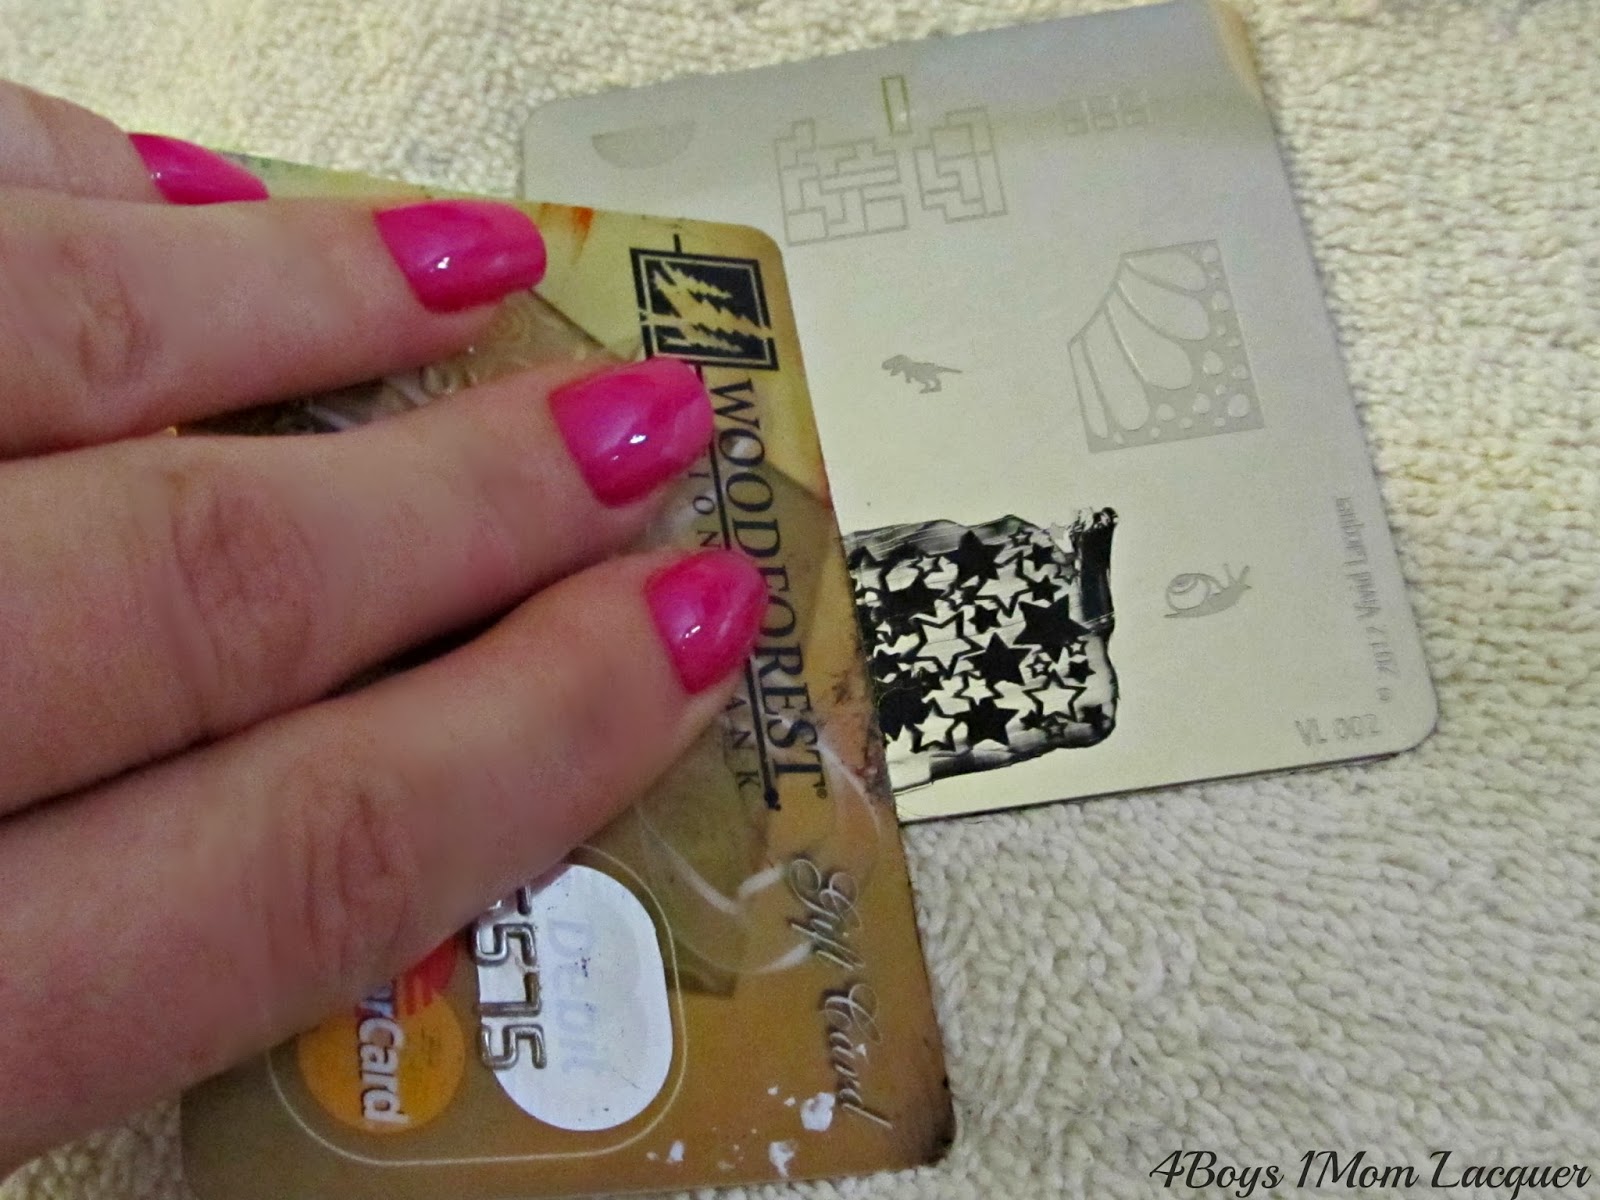
Grab your scrapper/Credit/Gift card and gently scrape the access polish to the side of your towel or paper towel.

Quickly and gently press your stamper onto the image to pick it up.

Now QUICKLY apply the image to you nails starting from the very side of your nail and gently roll it on. No need to press hard. If you press hard when applying the image you could risk the image separating/ripping.
To clean the access polish off your stamper you can use a cotton ball with acetone or those sticky lint removers.

This is what the finished results will look like before you clean up. Don't worry this is completely normal.This is when your bowl of acetone and your angled nail art brushes come in to save the day. Just dip your brush in the acetone a dab it on your towel and start to clean up around your nail beds.

This is what my brushes look like. My old one on the Left. My new on the right
Your going to want to let that stamping polish dry for a bit before you apply your topcoat. Your topcoat can make it smear.
And now....The Finishing results.....


I hope you enjoyed the step by step process. Its not that bad but practice makes perfect so try and not give up. It becomes alot of fun once you get the hang. I cant wait to see your designs and I hope you share them with me as well. If you have any questions feel free to ask!
Thank you for reading!!!!
Ya'll Come Back!!!
XOXO


